Anyone who’s ever lost a loved one and stepped into the world of probate court quickly realizes something crucial—it’s not just about processing grief; it’s also about managing mountains of paperwork. And not just a few forms here and there. The probate court documentation process in Texas (and across the country) is one of the most detail-oriented legal journeys families encounter. Whether you’re the executor of an estate or a family member trying to understand your role, getting a solid grip on the paperwork side of things can mean the difference between a seamless transition and a drawn-out court battle.
In this article, we’ll walk you through the probate court documentation process in easy-to-understand steps. We’ll break down the documents you’ll need, when and where to file them, and how a small mistake can lead to serious delays. To keep it practical and relatable, we’ve included real-life stories that highlight how preparation and organization can help avoid costly missteps.
What Is Probate, and Why Does Documentation Matter?
Getting the Big Picture First
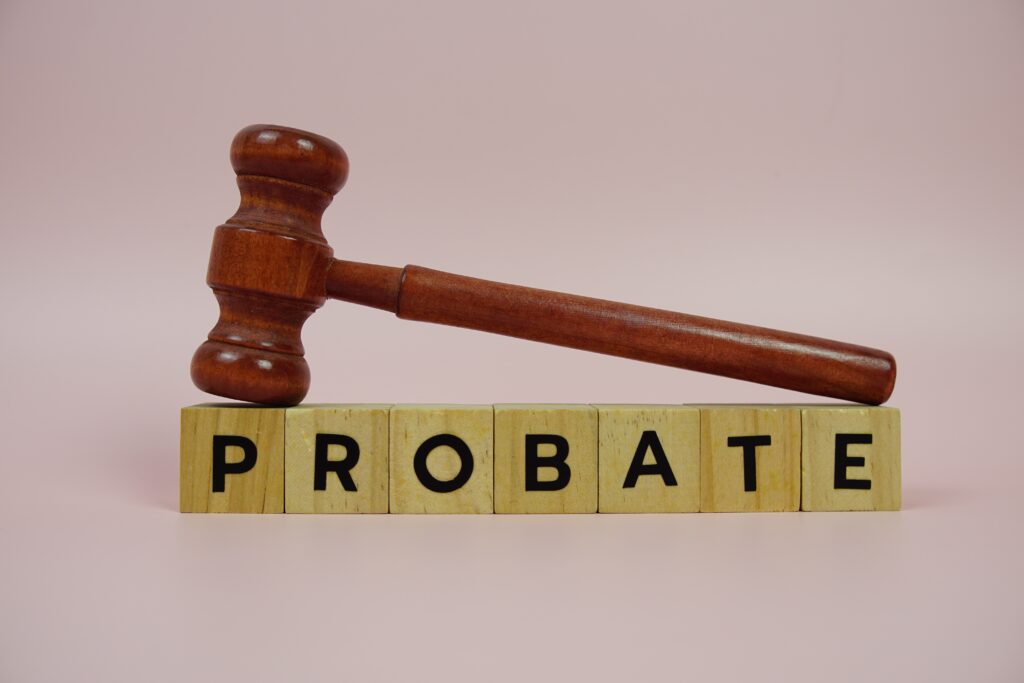
Probate is the legal process used to administer and distribute a person’s estate after they pass away. Essentially, it’s the court-managed way to make sure debts are paid and assets go to the rightful heirs. However, the court doesn’t do this on its own. It requires documentation—accurate, timely, and complete.
So when we talk about the probate court documentation process, we’re referring to the legal backbone of estate settlement. Without the correct paperwork submitted at each step, the court has no choice but to delay or halt proceedings. That means heirs are stuck in limbo, and vital estate assets remain frozen.
Real-Life Story: When a Missing Document Stalled Everything
Take the case of Harold, a lifelong Austin resident who passed away with a valid will naming his daughter as the executor. She filed the will with the court, but unknowingly left out the affidavit verifying the witness signatures. Because of that oversight, the court refused to admit the will, insisting on a verified correction.
Unfortunately, one witness had since moved across the country, which made securing the affidavit incredibly difficult. As a result, the family couldn’t move forward for over three months. They couldn’t sell property or pay estate debts in the meantime, which caused major financial headaches.
This real-life scenario highlights how the smallest details can grind everything to a halt. It’s exactly why fully understanding the probate court documentation process isn’t just helpful—it’s absolutely essential.
Step 1: Filing the Application to Probate
Where the Process Begins
The first formal step in the probate court documentation process involves submitting an Application to Probate in the county where the decedent lived at the time of death. This initial filing notifies both the court and the public that someone is requesting to administer the estate.
You must include key information in this document:
- The deceased’s full legal name and date of death
- Whether a will exists or not
- A request to appoint an executor or administrator
- Names and addresses of known heirs
After filing, there’s usually a required two-week waiting period before the court will hold a hearing. During this time, the county clerk posts public notice to allow any contests or objections to be raised.
It’s a relatively simple form—but leaving out details or using the wrong terminology can send you right back to square one.
Step 2: The Original Will and Self-Proving Affidavit
No Substitutes Allowed
If the decedent left a will, the original document must be filed with the court. Copies, even if notarized, won’t typically meet legal standards in Texas. Alongside the will, you should include a self-proving affidavit, which is a sworn statement signed by witnesses confirming the validity of the will.
This affidavit assures the court that:
- The will was signed freely and voluntarily
- The deceased was of sound mind during signing
- Witnesses were present and observed the signing
Without this affidavit, the court might require in-person testimony from the original witnesses, which adds both time and complexity to your case.
So, think of this step as your first big checkpoint in the probate court documentation process. It proves the most crucial document in the estate plan is valid and enforceable.
Step 3: Oath of Executor or Administrator
You’re Officially In Charge
Once the court approves the executor or administrator, that person must sign and submit an Oath of Office. This oath confirms their commitment to fulfill their duties with honesty and according to Texas law. It usually needs to be notarized and filed within 20 days of court appointment.
Failing to file this oath on time can result in the revocation of your appointment, forcing the court to consider a replacement. This leads to new hearings, more delays, and possible disputes among heirs.
In short, this oath isn’t just symbolic. It’s the legal stamp that makes your authority official—and a critical step in the probate court documentation process.
Step 4: Letters Testamentary or Letters of Administration
Your Legal License to Act
After the executor files their oath, the court issues Letters Testamentary (for wills) or Letters of Administration (for intestate estates). These official documents empower the executor to manage assets, pay debts, and distribute property.
You’ll need certified copies to:
- Access financial accounts
- Transfer property titles
- Communicate with utility companies and government agencies
- Sell or liquidate estate assets
Without these letters, you can’t legally act on behalf of the estate. That’s why they are one of the most significant documents in the probate court documentation process—and one of the first things attorneys, banks, and title companies will ask to see.
Step 5: Notice to Creditors and Beneficiaries
You Have to Let People Know
One of the legal responsibilities of the executor is to notify everyone with a legal interest in the estate. That includes both creditors and named beneficiaries. Texas law requires this notice to happen within a specific timeframe—typically within 60 days of your court appointment.
You’ll need to:
- Publish a general notice to creditors in a local newspaper
- Send certified letters to all known creditors
- Notify Social Security and financial institutions
- Inform beneficiaries of their rights under the will
Missing any of these steps can result in lawsuits or sanctions. So if you’re managing an estate, take these notices seriously—they’re a required part of the probate court documentation process, and they protect both you and the estate from future legal action.
Step 6: Inventory, Appraisement, and List of Claims
Documenting Everything the Estate Owns (and Owes)
Next up, the executor must submit a comprehensive Inventory, Appraisement, and List of Claims to the court. This must be filed within 90 days of being appointed, and it includes:
- Real estate and property valuations
- Bank account balances and investment summaries
- Personal belongings and valuables
- Debts and liabilities owed by the estate

This document must be notarized and precise. Any errors could affect the estate’s tax obligations or lead to disputes between heirs. It also provides the court with a complete snapshot of what the estate entails.
In terms of workload, this is one of the most challenging parts of the probate court documentation process—but also one of the most critical.
Real-Life Example: When Bad Records Led to Big Problems
In San Antonio, an executor handling a family ranch forgot to include inherited land on the estate inventory. Months later, a disgruntled heir contested the estate, claiming the omission was intentional and fraudulent.
The court ordered a full investigation. Although the executor was eventually cleared, the estate suffered costly legal delays and additional accounting fees.
This situation shows how a single oversight can derail months of progress. Accuracy in the probate court documentation process isn’t optional—it’s mandatory.
Step 7: Paying Debts and Filing Taxes
The Financial Side of Probate
After inventory submission, it’s time to handle estate debts and taxes. As executor, you must:
- Pay all valid debts from the estate’s assets
- File the decedent’s final tax return (IRS Form 1040)
- File estate income tax returns (IRS Form 1041, if applicable)
- Pay any estate taxes (IRS Form 706, usually for larger estates)
Every dollar spent must be documented and accounted for. You’ll need receipts, bank statements, and tax confirmation letters to present to the court.
If you skip steps or miss deadlines, the executor may face personal liability. This is why this stage of the probate court documentation process is so sensitive—it mixes legal obligations with financial transparency.
Step 8: Final Accounting and Distribution Plan
Wrapping Up the Estate Legally
Once all debts are paid and taxes filed, the executor must submit a Final Accounting and Distribution Plan to the court. This document provides:
- A full financial report of estate income and expenses
- A list of distributions to heirs
- Documentation supporting all transactions
- A formal request to close the estate
Once the court approves the plan, the executor distributes remaining assets and files a Closing Report or Notice of Closing Estate. Only then is the estate legally closed.
This final step seals your responsibility and offers closure to the family. It’s also the last hurdle in the probate court documentation process, and getting it right ensures the estate is finalized with no loose ends.
Why Documentation Matters So Much in Probate
Protecting Yourself and the Estate
Probate is not just about getting from point A to point B—it’s about doing it the right way. Every document you file is a safeguard:
- It shows what the estate owns and owes
- It proves you’re acting lawfully as executor
- It protects heirs from future claims
- It creates a transparent legal record
Skipping steps, missing deadlines, or submitting incomplete documents can result in delays, court sanctions, or worse—loss of inheritance for someone who deserves it.
So if you’re involved in a probate case, make the probate court documentation process your roadmap, not your roadblock.
Final Thoughts on Understanding Probate Court Documentation Process Essentials
Probate is never easy, especially when emotions are running high and legal timelines are tight. But when you fully understand the expectations and responsibilities involved, the process becomes manageable—maybe even empowering.
The probate court documentation process isn’t just bureaucracy. It’s the structured way we honor someone’s last wishes, protect their legacy, and make sure the people they cared about are taken care of. If you’re stepping into this role, take it seriously. Stay organized, meet your deadlines, and don’t be afraid to ask for professional help when needed.
Because in probate, paperwork isn’t just paper—it’s peace of mind.